Skip to main content
【Tutorial & Setting up】Latest Model Rock bitcoin Miner R-box BTC Miner Accessories Included for bitcoin mining 32~37GH
 |
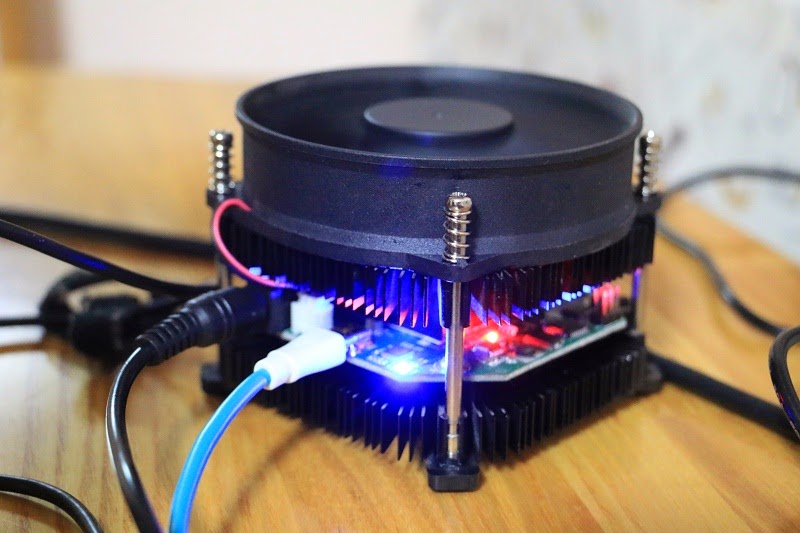
| The working miner |
{UPDATE}
Check our official site for the newest bitcoin miner, the most updated tutorial and amazing support! :-)
{Tutorial: Step by Step}
Please read carefully and do as the flowing strictly:
Suppose your operating environment is:
- OS: windows 7 laptop
- R-Box x 1
{Tutorial Start}:
- Set up the driver “CP210x_VCP_Windows”(For 32bit OS, please install “CP210xVCPInstaller_x86.exe”; for 64bit OS, please install “CP210xVCPInstaller_x64.exe”).
- Power on the R-Box (that means: connect the miner to the wall socket by the power cord, the fan of the miner will start working).
- Connect R-Box to the usb port of your PC (that means, connect the R-Box to your PC though usb port by a usb cord).
- If it shows up “setting up the driver”, please wait it to finish.
- Run the zadig_v2.0.1.exe
- Choose "Options--->List all drivers", and then in the pull-down list (as shown in Picture 1(see below)), there are 2 "CP2102 USB to UART Bridge Controller", click each one and click "Replace Driver".

- After the replace work done, please close zadig.
- Pull out the USB cord of the miner.
- And most important: Please power off the miner also. (It is unbelievable, if you don't do this, your cgminer maybe tell you that: cann't find any usb device. )
- Power on the miner again.
- connect the miner to your PC by usb cord again, and please note: insert in the same usb port as before.
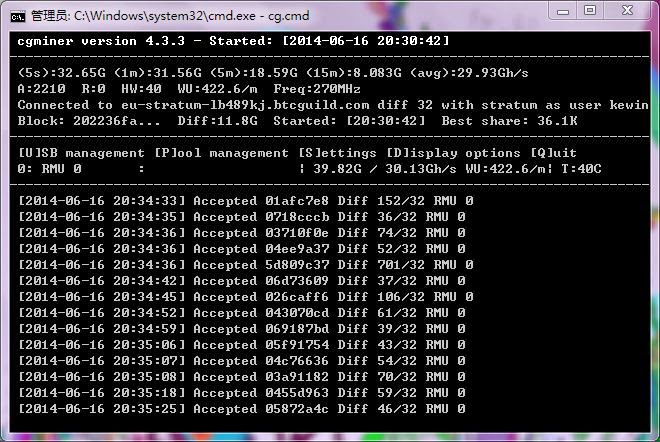
- Run the “cg.cmd”. (You should change the mining setting to yours first, use notepad open it and modify it)
- Then it should be working, like the picture showing:
 |
| Mining Status |
 |
| Working Miner |
{See Also}


Comments
Post a Comment